
UTV and Side-by-Side Bedliner: Beds, Floors, Fenders and Roofs
Which parts of a UTV are worth coating, why plastic needs different prep than steel, what to keep the liner away from, and what a side-by-side job costs.
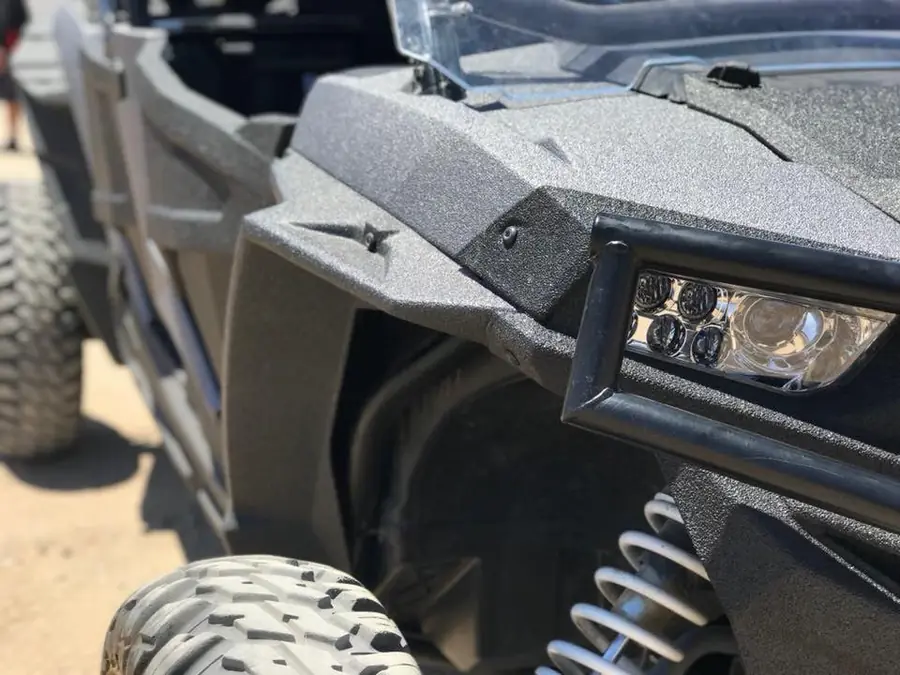
On a side-by-side, a sprayed liner is most useful on the dump bed, floorboards, fenders and roof, where mud, gravel and boots do the damage. Plastic parts need specific prep and an adhesion promoter, or the coating can peel.
Keep the liner off suspension, steering and anything that moves or gets hot, and pick a texture that grips without packing full of mud.
Key takeaways
- The dump bed and floorboards take the most wear, so they are the best place to start on a budget.
- Many UTV beds and body panels are plastic, which needs scuffing, cleaning and an adhesion promoter or primer made for that plastic.
- A liner adds some weight, so shops usually build thinner on roofs and upper panels and heavier on floors and the bed.
- Shocks, bushings, CV and steering boots, linkages, vents and hot parts should never be coated.
- A medium texture gives boots grip without trapping as much mud as a coarse finish.
A side-by-side spends its life getting sprayed with mud, sand and gravel, then pressure washed, then loaded with tools, coolers and firewood. Plastic beds get scratched up, floorboards wear thin, and steel parts start to rust wherever the paint gets chipped. A sprayed liner protects all of those surfaces at once.
A UTV is not a pickup, though. There is a lot more plastic, a lot more moving hardware close to the surfaces you want coated, and weight matters more on a small machine. Here is how to approach it.
Which parts are worth coating
Dump bed and cargo box
This is the most common UTV job and usually the best value. The liner stops the scuffing and gouging from tools and gear, keeps loads from sliding, and makes the bed easy to hose out. If the bed tilts, the shop should keep the liner off the hinge points, the latch and the gas strut mounts.
Floorboards
Boots carry in mud, grit and water, and the floor gets ground down right where your feet rest. A textured liner gives you grip and takes the wear instead. Ask about the drain holes, because they need to stay open.
Fenders and inner fenders
The undersides of the fenders get blasted by whatever the tires throw. A liner there stops that sandblasting effect and quiets rock strikes. The tops are worth coating too if you step on them to load the roof or bed.
Roofs and bumpers
Hard roofs fade and scratch. Standard aromatic liners chalk and fade in the sun as well, so on a roof you want an aliphatic UV topcoat over the liner. Steel bumpers, rock sliders and racks are good candidates as an alternative to paint or powder coat, since chips stay small and are easy to touch up.
Plastic vs metal: prep is the whole job
Many UTV beds, floors and body panels are molded plastic. Some of those plastics have a slick, low-energy surface that resists bonding, which is why liners on plastic sometimes peel off in sheets. The fix is in the prep. The shop should scuff the surface thoroughly, clean it with a plastic-safe cleaner, and apply an adhesion promoter or primer made for that type of plastic. Some shops also flame-treat plastic parts.
Steel parts need rust and loose paint removed, then a degrease and a primer on bare metal where the system calls for it. Aluminum roofs, floors and diamond plate need degreasing, abrading and a primer made for aluminum. Ask the shop what they will use on each material on your machine. A shop that preps everything the same way is guessing.
Polyurea is not a structural repair. If a steel floor or bed is rusted through, it has to be cut out and patched before coating, or the rust keeps spreading underneath.
Weight and texture
A liner adds weight, though less than most people expect. At typical truck-bed thickness, the material works out to roughly a third to two-thirds of a pound per square foot. A bed, floor and fender package usually adds somewhere around 10 to 30 pounds, depending on coverage and how heavy the build is. Shops generally go thinner on roofs and upper panels and heavier on the floor and bed.
Texture is a trade-off. A coarse texture grips well but packs with mud and takes longer to wash. A fine texture cleans easily but can be slick when wet. A medium texture on the floorboards and bed suits most riders.
Mud, rocks and abrasion
Polyurea handles the sliding, grinding abrasion that eats plastic and paint. Sand on the floor, gravel thrown from the tires and loads dragged across the bed wear the liner slowly instead of chewing through to the surface underneath. Because the coating is seamless and bonded, water and mud cannot get under it and sit against the metal.
It still wears. Spots that see constant grinding will thin over time, and they can be scuffed and re-sprayed. When you pressure wash, keep the nozzle back from the edges of the coating. Our bedliner maintenance guide covers cleaning and touch-ups.
What to keep the liner away from
A UTV packs a lot of moving parts close to the body. Overspray or a careless pass can cause real problems, so the shop should remove or mask all of these:
- Shocks, springs, A-arm bushings and ball joints
- CV boots, axles and steering rack boots
- Tie rods, steering linkage and other pivot points
- CVT and belt housing intakes and vents
- Exhaust, muffler and anything near engine heat
- Radiator, wiring connectors and sensors
- Bolts and fasteners you will need to remove later
The rule is simple. If it moves, flexes, breathes or gets hot, it does not get coated. Seat belt hardware, the bed latch and tilt mechanism, and door latches also need to stay clean so they keep working.
What a UTV liner costs
Pricing varies by shop, region, machine size and how much has to come apart. The ranges below are rough starting points for a typical two- or four-seat machine, not quotes.
| Area | Notes | Rough price range |
|---|---|---|
| Dump bed or cargo box | Floor, walls and tailgate interior | About $250–$600 |
| Floorboards | Driver and passenger sides, drain holes kept open | About $200–$500 |
| Fenders and inner fenders | Tops and undersides, usually plastic prep | About $150–$450 |
| Hard roof | Thinner build, UV topcoat recommended | About $200–$500 |
| Bed, floors and fenders together | Often cheaper than booking each area separately | About $600–$1,500 |
Removing the bed, seats and fenders yourself can bring the price down at some shops. Color, a UV topcoat and plastic prep on several panels push it up.
Getting your machine ready
Wash the machine well, especially underneath, before you drop it off. Remove the gear, racks and accessories you do not want coated, and tell the shop which areas you want done and how you use the machine. A work UTV hauling feed and fence posts needs a heavier build than a weekend trail machine.
Ask what they will mask, how they will prep each material, and whether the topcoat is aliphatic. If you also run a Jeep or tow a trailer, our guides to Jeep bedliner coatings and trailer floors cover those jobs, and the same prep rules apply.
Frequently asked questions
Can you spray bedliner on a plastic UTV bed?
Yes, with the right prep. The plastic has to be scuffed, cleaned with a plastic-safe cleaner and treated with an adhesion promoter or primer suited to it, because some UTV plastics are hard for any coating to bond to.
How much does it cost to bedliner a side-by-side?
A single area like the bed or the floorboards often runs a few hundred dollars, and a package covering the bed, floors and fenders can reach the low thousands. Prices vary by shop, region, machine size and how much has to come apart.
Does bedliner add a lot of weight to a UTV?
Not much. At typical bed thickness a liner weighs roughly a third to two-thirds of a pound per square foot, so a bed, floor and fender package usually adds somewhere around 10 to 30 pounds.
Can I put bedliner on my UTV roof?
Yes. Hard roofs are a common job, usually at a thinner build to keep weight down up high, with an aliphatic UV topcoat so the color does not fade.
Was this article helpful?
Thanks for telling us. Spot something wrong?
Keep reading
More from the blog.
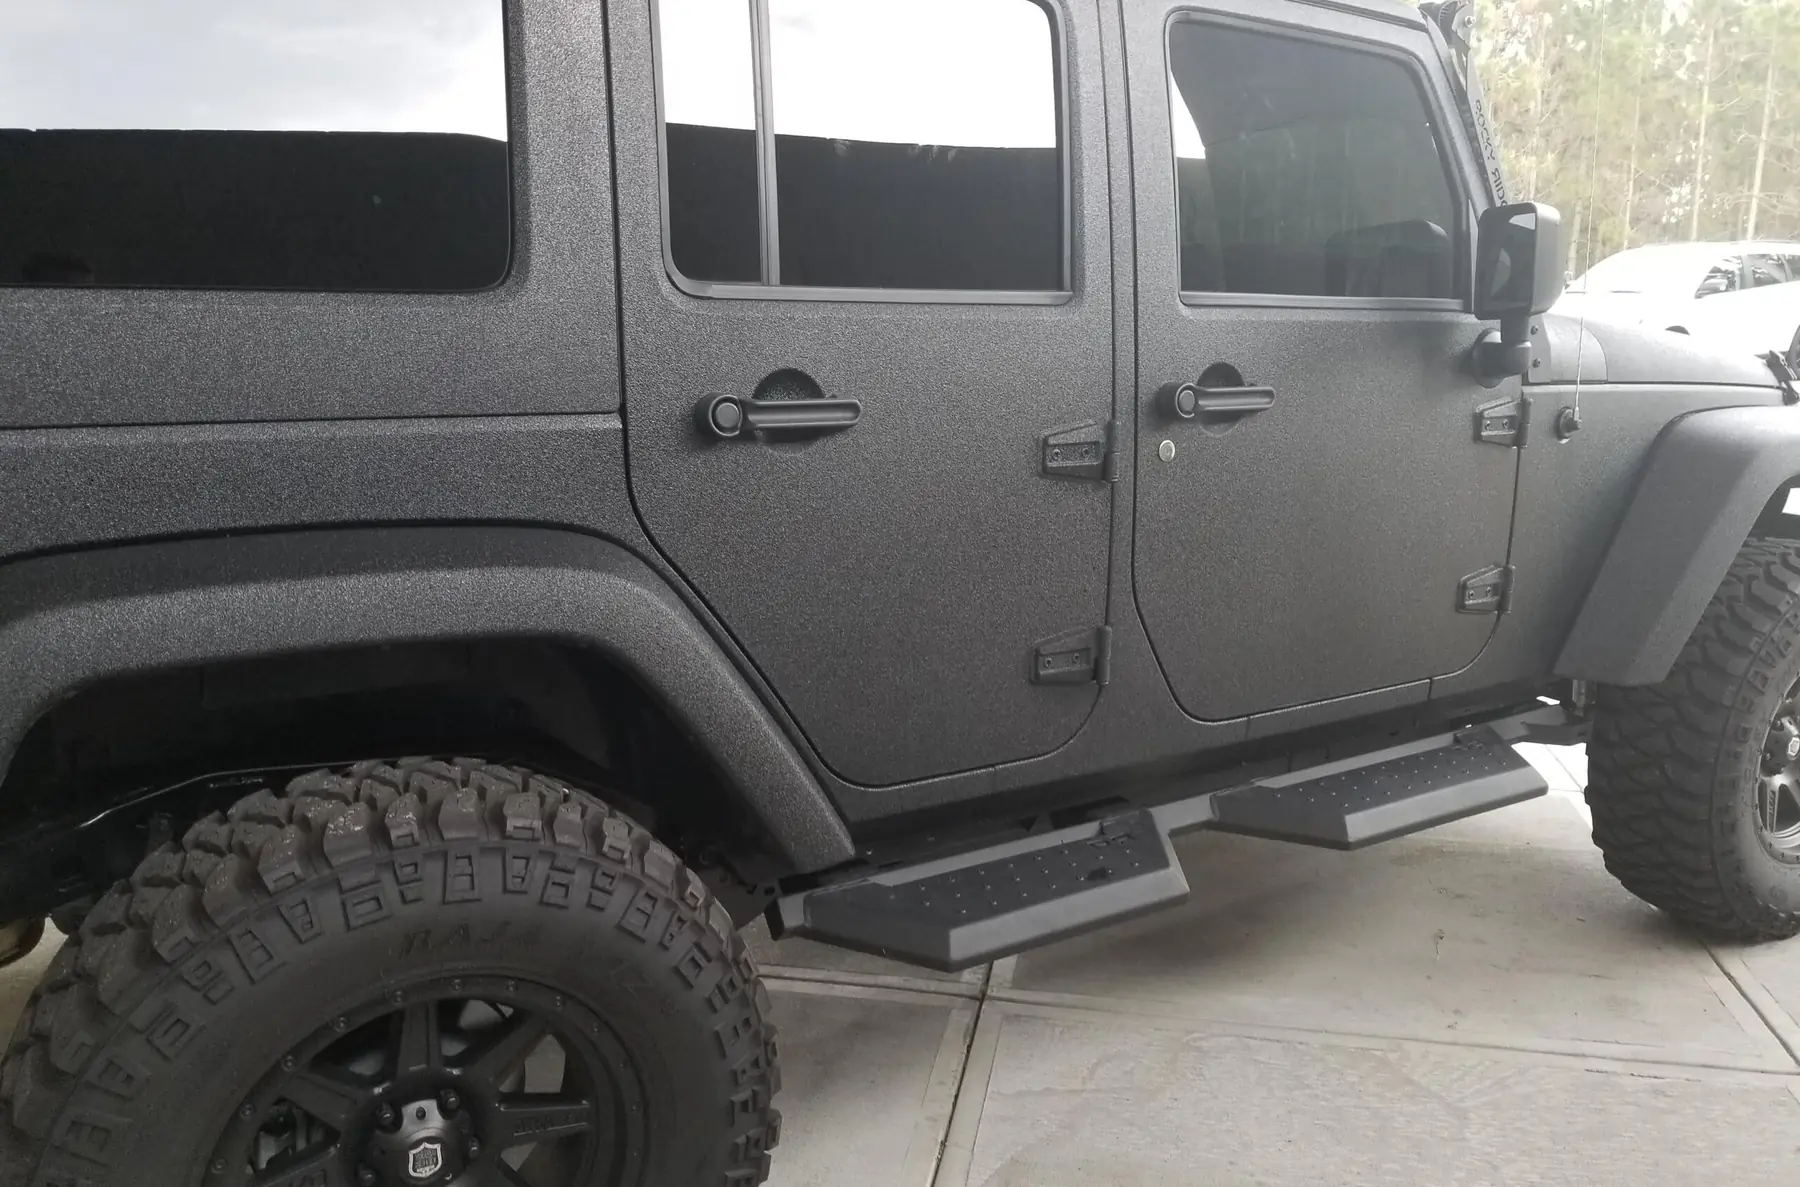
Bedliner on a Jeep: Full-Body, Tub and Rocker Coatings Explained
What a sprayed liner does on a Jeep, from rockers and flares to the tub and full body, what the prep involves,…
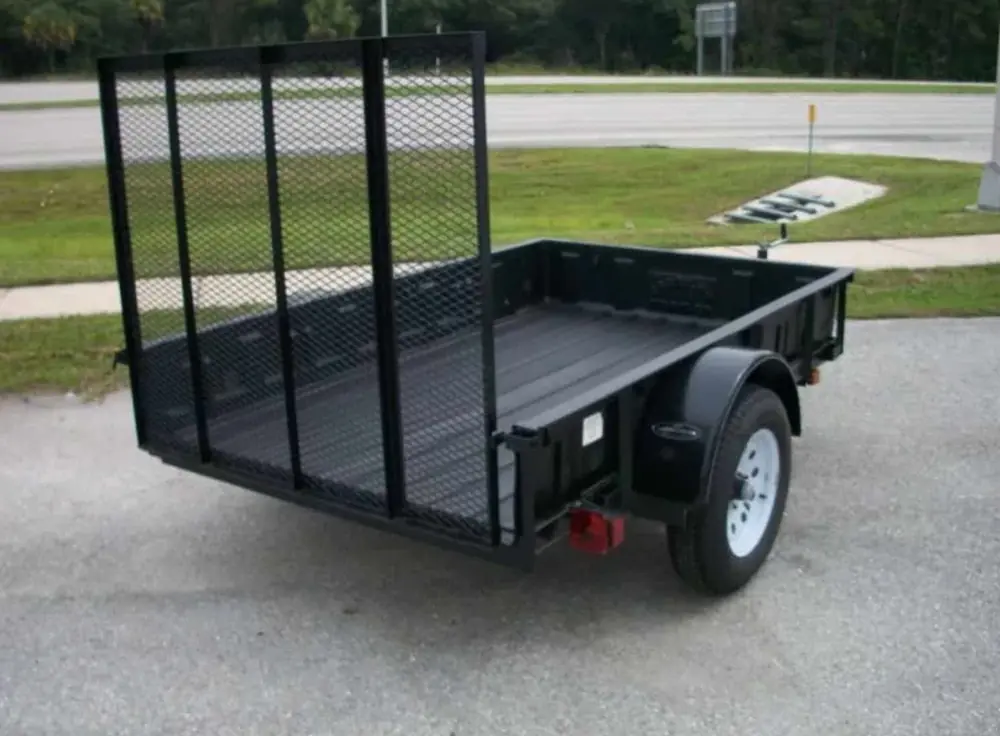
Trailer Bedliners: Decks, Ramps, Enclosed and Horse Trailer Floors
Where a sprayed liner works on utility, flatbed, enclosed and horse trailers, how wood, steel and aluminum get prepped, and what drives…
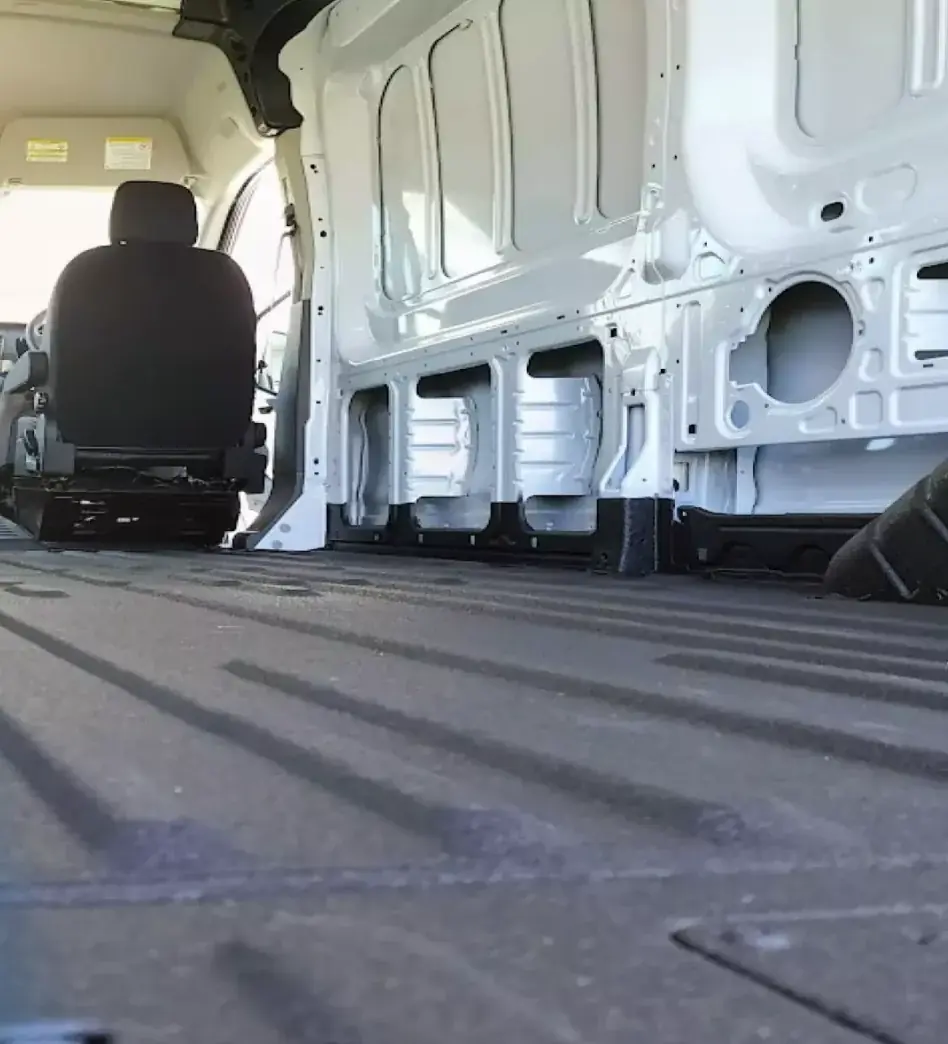
Spray-On Liners for Cargo Vans: Sprinter, Transit and ProMaster Floors
What a sprayed liner does on a cargo van floor, wheel wells and walls, what the shop removes first, how long the…