
Spray-On Liners for Cargo Vans: Sprinter, Transit and ProMaster Floors
What a sprayed liner does on a cargo van floor, wheel wells and walls, what the shop removes first, how long the van is down and what drives the price.
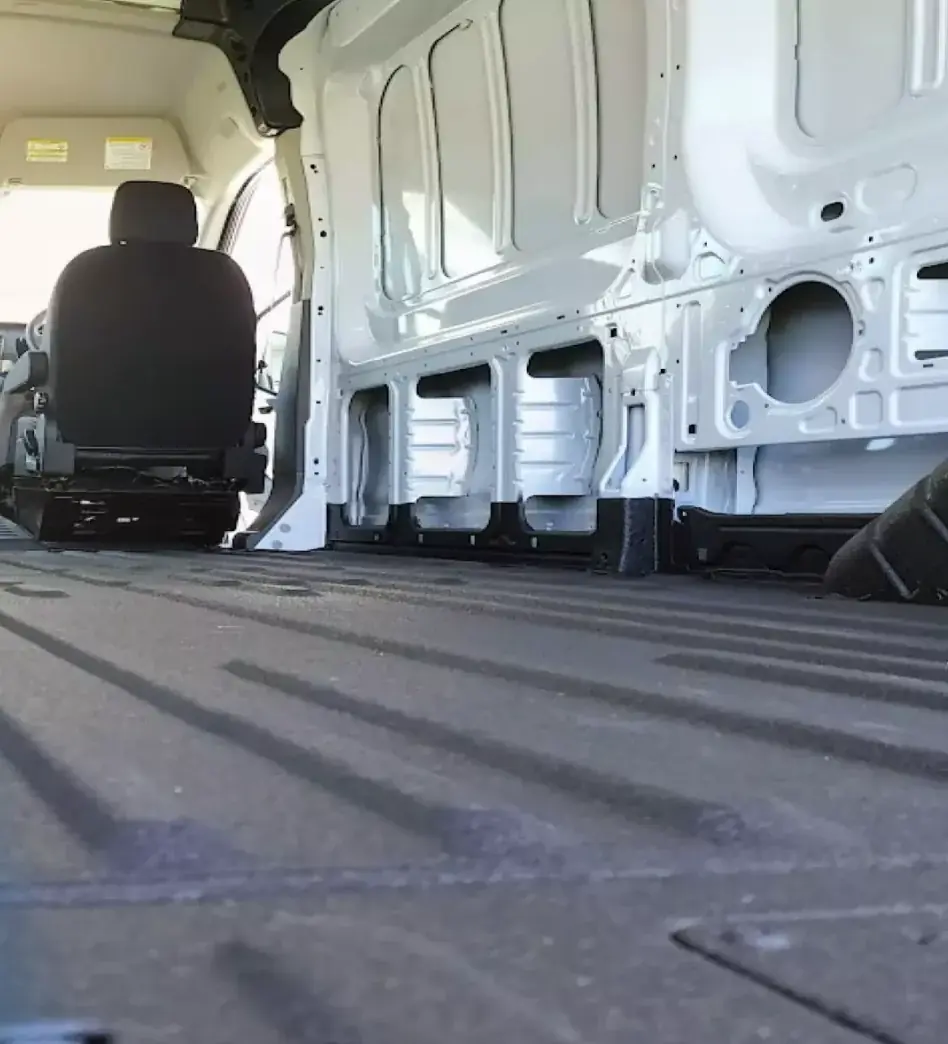
A sprayed polyurea liner gives a cargo van a seamless, non-slip floor bonded to the metal, and it can extend to the wheel wells, sills and lower walls. Most of the cost is prep: removing seats and racking, masking, and fixing rust or bad plywood first.
Plan on the van being out of service about one to two days, and write one spec for every van in a fleet.
Key takeaways
- Decide where the coating stops (floor, wheel wells, sills, wall height) before collecting quotes so every shop prices the same job.
- Bare OEM steel is the most predictable surface, while a plywood floor must be dry and sound with sealed edges.
- Polyurea is not a structural repair, so rust-through at the doors or wheel wells has to be fixed before spraying.
- Expect a van to be out of service about one to two days, longer if racking comes out or rust needs repair.
- Fleets should send the same written spec with every van and coat new vans before shelving is installed when possible.
A cargo van floor takes more abuse than most truck beds. Tool bags get dragged across it, ladders slide in and out the back, boxes of parts get shoved against the wheel wells, and somebody climbs in and out with wet boots twenty times a day. The factory floor on a Sprinter, Transit or ProMaster is painted steel, and it doesn’t take long for the ribs to wear through to bare metal.
A sprayed polyurea liner covers that floor in one bonded, seamless layer. Here is what usually gets coated, what the shop pulls out first, how long the van is down, and what moves the price.
What Gets Coated in a Cargo Van
Most van jobs start with the cargo floor and grow from there. The common add-ons are:
- Cargo floor from the partition or seat base back to the rear threshold.
- Wheel wells, which take a hit from every load that shifts in a turn.
- Lower walls, usually sprayed to a set height so shelving brackets land on coated metal.
- Door sills and step wells at the slider and rear doors, where boots and hand trucks wear paint fastest.
You can spray the whole cargo area, but on most work vans the upper walls don’t see enough abuse to justify the cost. Decide where the coating stops before you get quotes so every shop is pricing the same job.
OEM Steel Floor or Plywood Subfloor?
Many vans leave the dealer or upfitter with a plywood or composite floor screwed down over the steel. You can coat either one, but they are different jobs.
Bare OEM steel is the more predictable surface. The shop scuffs the factory paint, degreases, primes any bare or rusty spots, and sprays. The ribbed floor gets a continuous coat that fills the low spots, so there are no seams for water and grit to collect in. Because the liner is bonded to the metal, moisture doesn’t get trapped under it the way it does under a rubber mat.
A plywood floor can be sprayed, but the wood has to be dry and sound first. Wood moves with moisture, so a good shop seals the edges and screw holes and will talk to you about the perimeter where water sits. If your plywood is already soft or delaminating, replace it. A coating sprayed over wet or rotten wood will eventually let go. The same rules apply to enclosed trailer floors, which we cover in our trailer liner guide.
Polyurea is a protective layer, not a structural repair. If the floor has rust-through around the rear doors or wheel wells, it needs to be cut out and repaired before anyone sprays it.
Who Gets the Most Out of a Van Liner
Any van that hauls tools, parts or product every day is a candidate. The trades that ask for it most tend to be:
- Plumbers and HVAC techs hauling water heaters, copper and fittings that drip.
- Electricians with ladders, wire spools and conduit that slides around.
- Delivery and parcel fleets with drivers climbing in and out all shift.
- Mobile mechanics and detailers who spill oil, chemicals and water on the floor.
Beyond wear, owners usually notice two things. A textured liner is non-slip wet or dry, which matters when a driver steps up into the van in the rain. And a thick bonded layer takes some of the drum out of a bare steel floor. It isn’t sound deadening, but loose tools and empty carts make less racket on it.
What the Shop Removes and Masks
Most of the labor on a van isn’t spraying. It’s getting the cargo area empty and protected. Expect the shop to pull out:
- Rear seats, seat bases and any removable partition.
- Shelving, racking and drawer units bolted to the floor or walls.
- Rubber mats, factory floor covers and plastic trim panels.
- Tie-down rings and cargo track hardware that would otherwise get coated over.
Then they mask what stays: the sliding door track and rollers, door seals and weatherstrip, wiring harnesses and connectors, seat belt anchors, sensors, and any threaded holes you’ll need later. Bolt holes for racking should be plugged so the threads stay clean.
After masking, the surface is scuffed, degreased and primed where needed. Polyurea gels within seconds of leaving the gun, so the shop builds the coating in passes until it reaches the quoted thickness. Ask what that number is. Truck beds commonly run 60 to 125 mil, and a van floor that sees daily traffic belongs in that range too, with extra build at the doorways and over the wheel wells.
Inside a van, sun exposure is limited, so a standard aromatic liner is usually fine on the floor. If the rear doors stay open on job sites all day, or you want the color to hold on the step and bumper, ask about an aliphatic UV topcoat. Aromatic liners chalk and fade in sunlight without one. Our polyurea vs polyurethane breakdown explains the material differences.
Downtime and Fleet Consistency
Plan for a van to be out of service about one to two days. Removal and masking take most of the first day, and the coating needs to cure before the van is loaded or racking goes back in. Book fleet vans one or two at a time so routes stay covered.
For fleets, the bigger issue is keeping every van the same. Put the spec in writing once and send it with each vehicle:
- Which areas get coated, and the wall height in inches.
- Color, texture and whether a UV topcoat is included.
- Target thickness on the floor and at the high-wear spots.
- What the shop removes and reinstalls, and who handles racking.
- How bolt holes and tie-down points are treated.
If you’re buying new vans, try to get them coated before the upfitter installs shelving. Spraying an empty van costs less than pulling racking out and putting it back. Ask the upfitter to seal any holes they drill through the liner.
What It Costs and Why Quotes Vary
A van floor is bigger than most pickup beds, and the prep is fussier. For a single van, expect quotes roughly in the $800 to $2,000 range for the floor and wheel wells, with lower walls, long-wheelbase bodies and heavy removal pushing it higher. Treat that as a rough guide. Prices vary a lot by shop, region, prep and van size.
| Factor | Why it changes the price |
|---|---|
| Wheelbase and body length | An extended high-roof van has far more floor and wall to coat than a short one. |
| Coverage | Floor only is the baseline. Wheel wells, sills and lower walls add material and masking time. |
| Removal and reinstall | Seats, partitions and racking can take hours to pull and put back. |
| Floor condition | Rust repair, old coatings or damaged plywood add prep before any spraying. |
| Topcoat and color | An aliphatic UV topcoat or custom color adds material and a step. |
| Fleet volume | Several identical vans on a schedule may earn a better per-unit price. |
For background on how pickup bed pricing works, see our spray-in bedliner cost guide.
Questions to Ask Before You Book
- What thickness will you spray on the floor, and do you build up the doorways?
- How do you prep factory paint, and where do you prime?
- What are you removing, and who reinstalls it?
- How long will the van be down, and when can it be loaded?
- What happens if you find rust or bad plywood once the mats come out?
- Is a UV topcoat included or extra?
When you’re ready, request a quote from an applicator in the ArmorThane network and send your spec up front.
Frequently asked questions
Can you spray bedliner over a plywood van floor?
Yes, if the plywood is dry, solid and well fastened. The shop should seal the edges and screw holes, and any soft or delaminating panels should be replaced first.
How long is a van out of service for a spray-in liner?
Usually about one to two days, covering removal, masking, prep, spraying and cure. Racking removal or rust repair can add time.
Does a bedliner reduce noise in a cargo van?
A thick bonded liner damps some of the drumming of a bare steel floor and quiets loose tools and carts. It is not a substitute for dedicated sound deadening.
Do I need a UV topcoat inside a van?
Often not on the floor, since it gets little direct sun. If the rear doors stay open for long stretches or color matters on the step and bumper, an aliphatic topcoat keeps an aromatic liner from chalking and fading.
Should I coat the van before or after shelving is installed?
Before, if you can. Spraying an empty van costs less than removing and reinstalling racking, and the upfitter can seal any holes they drill through the liner.
Was this article helpful?
Thanks for telling us. Spot something wrong?
Keep reading
More from the blog.
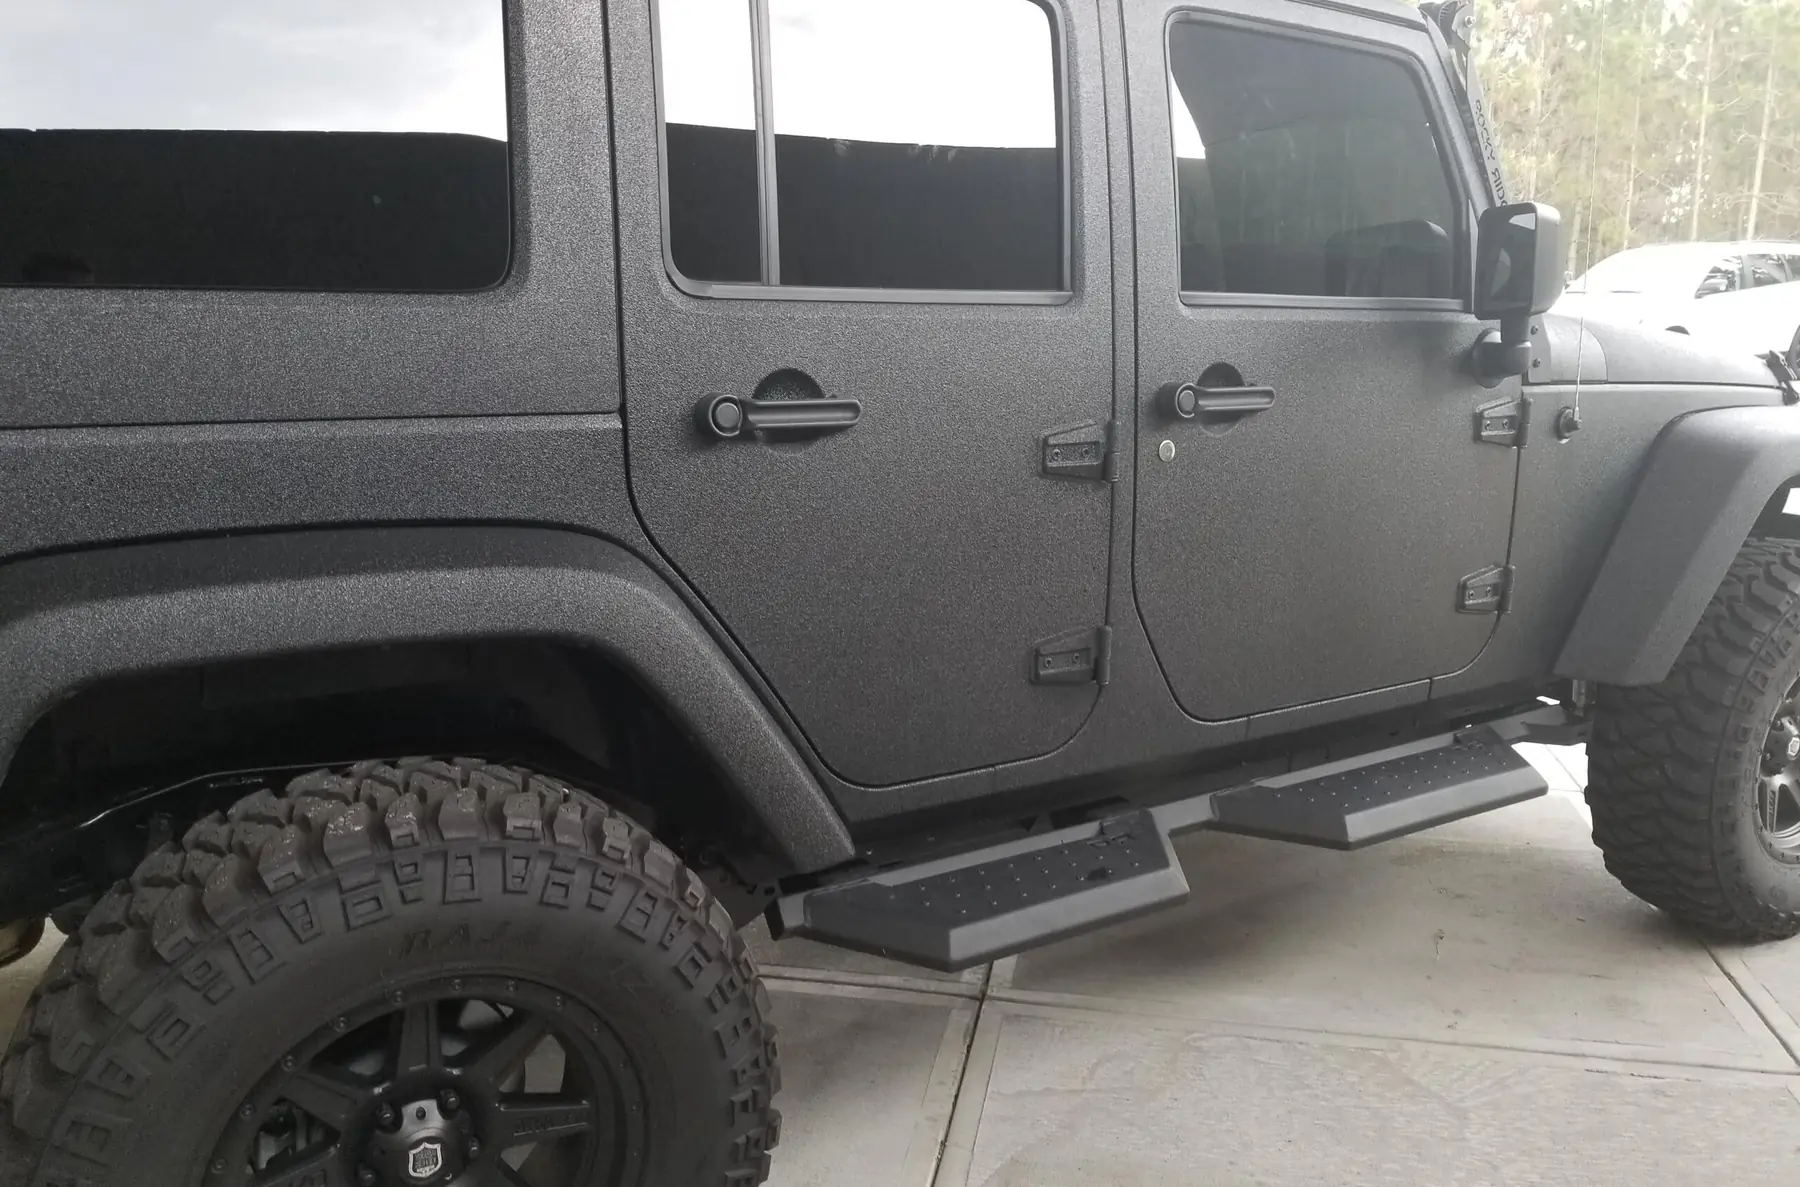
Bedliner on a Jeep: Full-Body, Tub and Rocker Coatings Explained
What a sprayed liner does on a Jeep, from rockers and flares to the tub and full body, what the prep involves,…
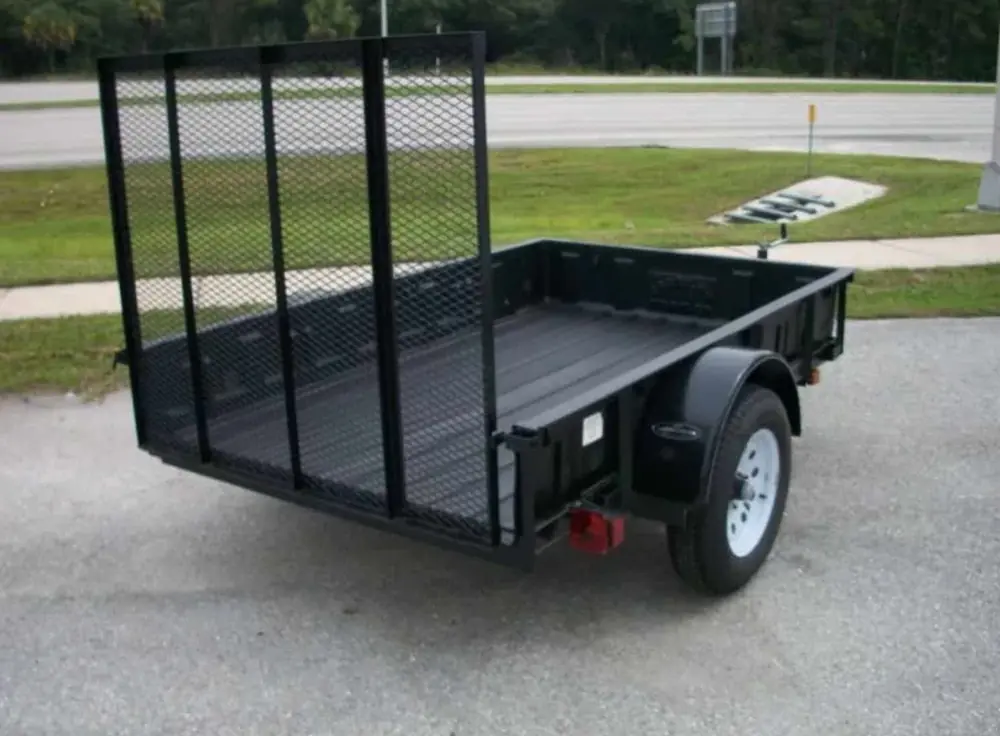
Trailer Bedliners: Decks, Ramps, Enclosed and Horse Trailer Floors
Where a sprayed liner works on utility, flatbed, enclosed and horse trailers, how wood, steel and aluminum get prepped, and what drives…
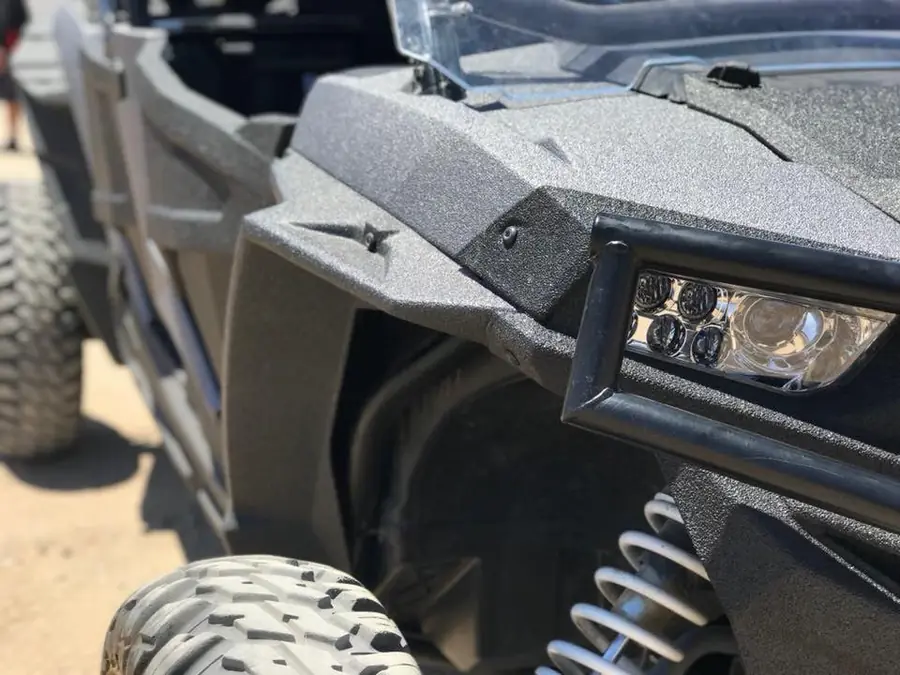
UTV and Side-by-Side Bedliner: Beds, Floors, Fenders and Roofs
Which parts of a UTV are worth coating, why plastic needs different prep than steel, what to keep the liner away from,…